RemotiveStudio Desktop
RemotiveStudio Desktop is currently in beta. It's fully functional, but you may encounter rough edges—feedback is welcome at support@remotivelabs.com.
RemotiveStudio Desktop is a native desktop application that runs RemotiveStudio in its own window instead of a browser tab. It's the recommended way to work with Studio: it talks to the backend over a secured HTTP/2 connection for smoother live data, and it can connect to a RemotiveTopology running on a remote machine over SSH—or, on Windows, in WSL—all without leaving the app.
It runs the exact same RemotiveStudio interface you get in the browser, so everything you already know—topology views, dashboards, system monitoring—works identically. The desktop app simply gives that interface a faster transport, a dedicated window, and built-in local and remote connection management.
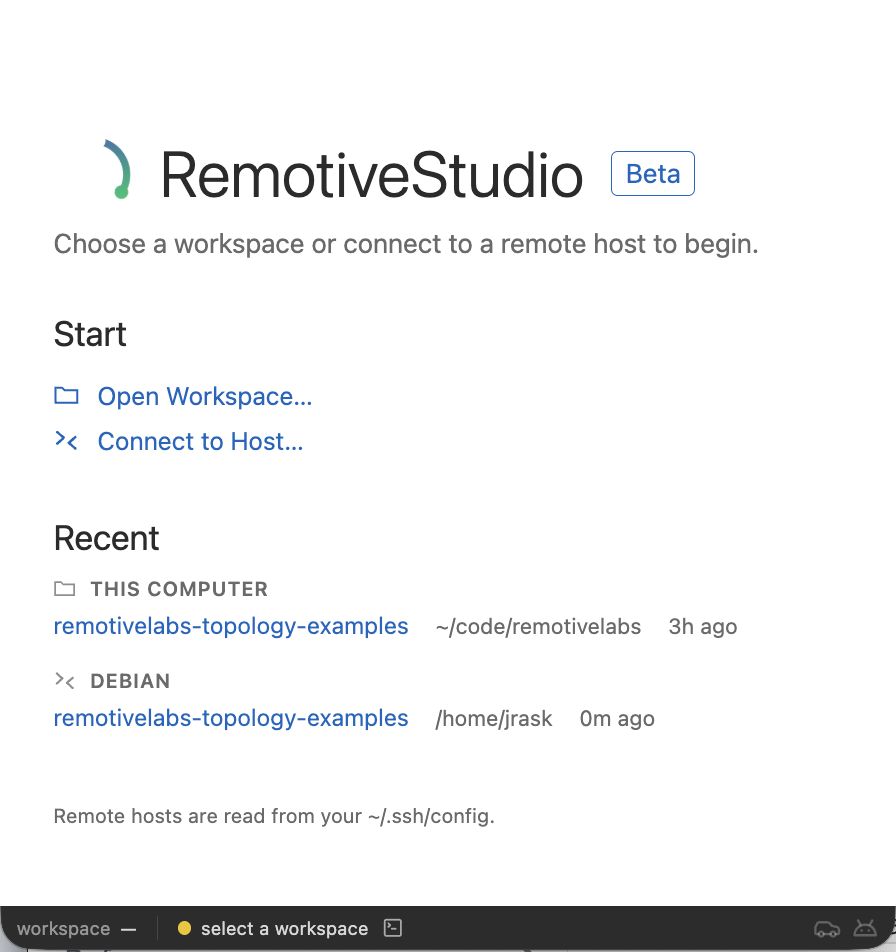
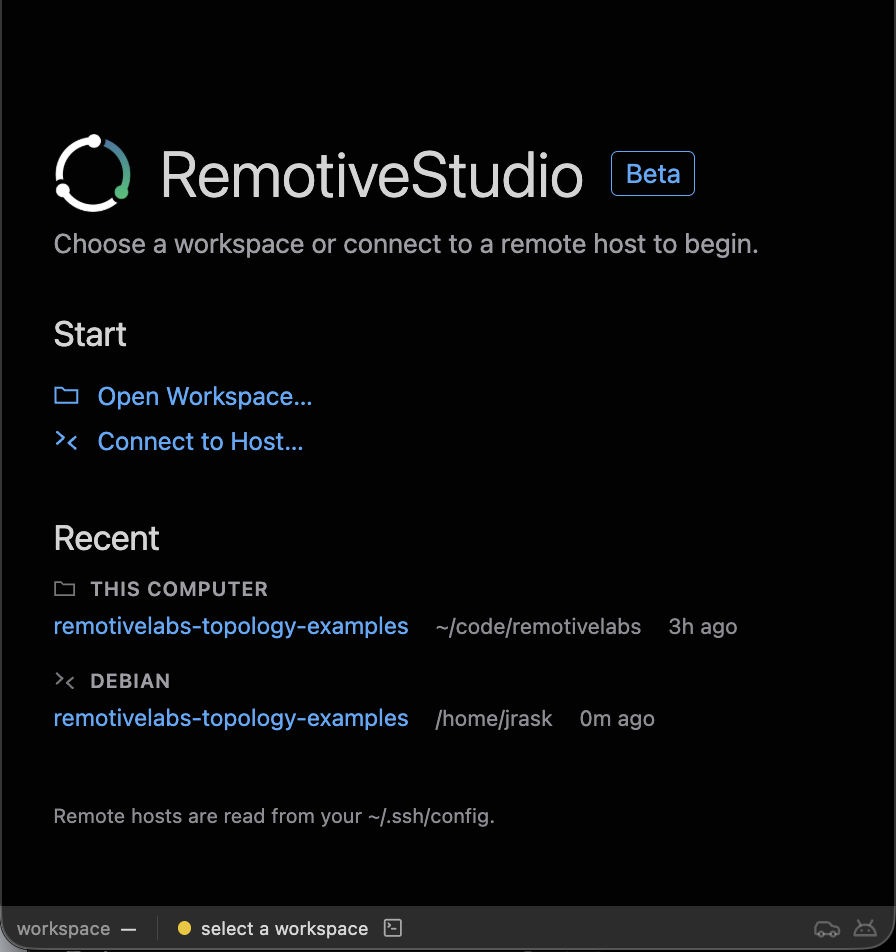
The welcome screen on macOS and Linux—open a local workspace, connect to a remote host, or pick up a recent one. The app follows your system's light or dark theme.
Installation
RemotiveStudio Desktop is distributed through the same package channels as the RemotiveCLI: the apt/yum repositories on Linux and Homebrew on macOS. Once installed, updates arrive through your package manager (apt update && apt upgrade / dnf upgrade --refresh / brew upgrade) together with the CLI.
Quick install
If you have the RemotiveCLI installed, the desktop app installs on first use.
remotive studio --desktop
Without the CLI you can install or upgrade with a single command on macOS and Linux:
curl -fsSL https://files.remotivelabs.com/remotive-studio-desktop/install.sh | bash
On Windows, download and run the installer instead—see Manual install.
Install script options
To pass options through curl … | bash, add -s -- before them:
# Install a specific version
curl -fsSL https://files.remotivelabs.com/remotive-studio-desktop/install.sh | bash -s -- 0.0.41

# Force a reinstall even if already up to date
curl -fsSL https://files.remotivelabs.com/remotive-studio-desktop/install.sh | bash -s -- -f

# Force a backend instead of auto-detecting (brew|apt|yum|dmg|tar)
curl -fsSL https://files.remotivelabs.com/remotive-studio-desktop/install.sh | bash -s -- --method dmg

# Print what would happen without changing anything
curl -fsSL https://files.remotivelabs.com/remotive-studio-desktop/install.sh | bash -s -- --dry-run
How the script installs per platform
| Platform | Method | Fallback |
|---|---|---|
| macOS (Apple Silicon) | Choose Homebrew cask or signed .dmg | — |
| Debian / Ubuntu | apt + RemotiveLabs apt repository | — |
| Red Hat Enterprise Linux (RHEL) / Fedora / SUSE Linux Enterprise (SUSE) | dnf/yum + RemotiveLabs yum repository | — |
| Other Linux (e.g. Arch) | self-contained bundle under ~/.local (no root) | — |
The .dmg is signed and notarized; the script verifies the signature and
notarization before installing. The self-contained bundle is verified against
a signed SHA-256 digest.
Manual install
If you prefer to manage the installation yourself, choose your platform and use one of the methods below instead of the install script.
- Linux (deb/rpm/tar)
- macOS (homebrew, dmg)
- Windows
Debian / Ubuntu (.deb)
Add the RemotiveLabs apt repository (the same one that serves the RemotiveCLI—skip this if you already added it) and install:
curl -fsSL https://packages.remotivelabs.com/apt-repo-signing-key.gpg | sudo gpg --dearmor -o /usr/share/keyrings/remotivelabs-apt.gpg
echo "deb [signed-by=/usr/share/keyrings/remotivelabs-apt.gpg] https://packages.remotivelabs.com remotivelabs-apt main" | sudo tee /etc/apt/sources.list.d/remotivelabs.list
sudo apt update
sudo apt install remotive-studio-desktop
Upgrade:
sudo apt update
sudo apt install remotive-studio-desktop
RHEL / Fedora / SUSE (.rpm)
Add the RemotiveLabs yum repository (the same one that serves the RemotiveCLI—skip this if you already added it) and install:
sudo tee /etc/yum.repos.d/remotivelabs.repo > /dev/null <<EOF
[remotivelabs]
name=Remotivelabs
baseurl=https://packages.remotivelabs.com/yum/remotivelabs-yum
enabled=1
repo_gpgcheck=0
gpgcheck=0
EOF
sudo dnf install remotive-studio-desktop
Upgrade:
sudo dnf upgrade --refresh remotive-studio-desktop
The desktop app's rpm packages aren't GPG-signed yet. If your repository
configuration has gpgcheck=1 (used by the RemotiveCLI packages), pass
--nogpgcheck when installing the desktop app.
The app installs to /opt/RemotiveStudio with an entry in the system app
launcher and a remotive-studio-desktop command on the PATH.
Self-contained bundle (.tar)
A self-contained bundle for distributions without apt or dnf, available
for x86_64 and arm64. Download, verify against the published SHA-256
digest, extract, and run:
VERSION=$(curl -fsSL https://files.remotivelabs.com/remotive-studio-desktop/latest/latest-version.txt)
ARCH=$(uname -m | sed 's/aarch64/arm64/')
curl -fsSL -O "https://files.remotivelabs.com/remotive-studio-desktop/remotive-studio-desktop-$VERSION/remotive-studio-desktop-$VERSION-$ARCH.tar.gz"
curl -fsSL -O "https://files.remotivelabs.com/remotive-studio-desktop/remotive-studio-desktop-$VERSION/remotive-studio-desktop-$VERSION-$ARCH.tar.gz.sha256"
sha256sum -c "remotive-studio-desktop-$VERSION-$ARCH.tar.gz.sha256"
mkdir -p ~/.local/opt
tar -xzf "remotive-studio-desktop-$VERSION-$ARCH.tar.gz" -C ~/.local/opt
~/.local/opt/remotive-studio-desktop-$VERSION-$ARCH/RemotiveStudio
For a tar install with desktop integration (app launcher entry, icon, and a
remotive-studio-desktop command on the PATH) use the install script
instead, which also verifies the bundle's signature:
curl -fsSL https://files.remotivelabs.com/remotive-studio-desktop/install.sh | bash -s -- --method tar
Apple Silicon (arm64) only.
Direct download
Download for MacOpen the downloaded disk image and drag RemotiveStudio into Applications.
Homebrew
Requires Homebrew. Installs the latest version from the RemotiveLabs tap.
brew install --cask remotivelabs/tap/remotive-studio-desktop
Upgrade:
brew upgrade --cask remotivelabs/tap/remotive-studio-desktop
The first time the app opens after a Homebrew install or upgrade, macOS shows the standard "downloaded from the internet" confirmation.
Download from the terminal (.dmg)
The same signed and notarized disk image as the direct download, pinned to an exact version—useful for scripting or installing a specific release.
VERSION=$(curl -fsSL https://files.remotivelabs.com/remotive-studio-desktop/latest/latest-version.txt)
curl -fsSL -O "https://files.remotivelabs.com/remotive-studio-desktop/remotive-studio-desktop-$VERSION/RemotiveStudio-$VERSION-arm64.dmg"
open "RemotiveStudio-$VERSION-arm64.dmg"
Then drag RemotiveStudio into Applications.
Run the downloaded installer to install the app.
The RemotiveCLI isn't supported natively on Windows—run it inside WSL2 (see the CLI installation guide). The desktop app runs natively on Windows and connects to your WSL distro with Connect to WSL.
Platform support
| Platform | Local workspace | Remote workspace (SSH) | WSL2 workspace |
|---|---|---|---|
Linux (x86_64, arm64) | ✅ | ✅ | — |
| macOS (Apple Silicon) | ✅ | ✅ | — |
Windows (x64) | ❌ | ❌ | ✅ |
On Windows, workspaces always run inside WSL2: the RemotiveCLI isn't supported natively on Windows, so the desktop app runs natively while the workspace lives in your WSL distro.
Why use the desktop app
In short:
- As many dashboards, charts, and videos as you need—HTTP/2 multiplexes every live stream over a single connection, so nothing has to queue.
- Remote machines over SSH—start and drive a topology on another machine as if it were local.
- WSL2 on Windows—connect straight to one of your distros.
- Quick access to recent workspaces—reopen a workspace, local or remote, from the welcome screen.
Faster, smoother live data over HTTP/2
In the browser, RemotiveStudio talks to a local backend over plain HTTP, which means HTTP/1.1. Getting a browser to use HTTPS (and therefore HTTP/2) against a local server would require installing a self-signed certificate into your operating system's trust store—an intrusive, easy-to-get-wrong step.
The desktop app sidesteps that entirely. It trusts the CLI-generated certificate inside the app only (see Security), so it can connect over HTTPS with HTTP/2 enabled without touching system trust.
Why this matters in practice:
- No practical limit on concurrent streams—every live chart and every video holds its own stream. Over HTTP/1.1 a browser opens only a handful of connections per origin, so a dashboard-heavy workspace runs out of them and the rest wait their turn. HTTP/2 multiplexes all of them over a single connection, so you can open as many dashboards, charts, and videos as you need.
- Lower overhead—header compression and a single long-lived connection reduce per-request cost, which adds up when dashboards are charting many signals at high rates.
- Better behavior under load—busy dashboards and high-throughput topologies feel more responsive because the transport isn't the bottleneck.
The result is a more responsive experience for real-time signal monitoring, especially with large topologies and signal-heavy dashboards.
Local and remote in one app
The desktop app can run a topology three ways:
- Local—it starts the
remotiveCLI on your own machine, exactly like runningremotive studioyourself, and connects to it. - Remote over SSH—it connects to another machine (for example a powerful VM), starts
remotive studiothere, and tunnels everything back so you work against the remote topology as if it were local. The window title shows where you're connected, VS Code–style:my-workspace [SSH: my-vm]. - WSL (Windows)—it connects to one of your WSL distros, starts
remotive studiothere, and connects through WSL's localhost relay:my-workspace [WSL: Ubuntu].
This makes it easy to run heavy topologies on capable hardware while driving them from your laptop.
A dedicated, integrated app
- Opens from your applications launcher (Spotlight / Launchpad on macOS, the app menu on Linux)—no terminal required to get going.
- A status bar shows the active workspace and live connection status (connecting, ready, error).
- A built-in console window surfaces the CLI logs, so you can see what the backend is doing without hunting through a terminal.
- Closing the app cleanly shuts down the local backend or remote session it started—nothing is left running behind your back.
Using the desktop app
Open a workspace (Linux/macOS)
Launch the app to land on the welcome screen:
- Open Workspace…—pick a local workspace directory. This starts a local backend and opens Studio against it, the same as running
remotive studio <path>in a terminal. - Recent—reopen a workspace you used before, local or remote.
Connect to a remote host (Linux/macOS)
Use Connect to Host… to run Studio against a topology on another machine over SSH:
- Hosts from your
~/.ssh/configare listed for one-click connection. - Quick Connect… lets you type a target as
user@host. For custom ports, keys, or jump hosts, add aHostentry to your~/.ssh/configand it appears in the list.
When you connect, the app:
- Fetches and pins the remote machine's CA certificate over the already host-key-verified SSH channel.
- Discovers workspaces on the remote machine (previously used ones included) and shows a picker when any are found; with none it falls back to the home directory.
- Starts
remotive studioon the remote machine and tunnels the connection back to your app.
The RemotiveCLI must be installed on the remote machine, and you must already be able to reach it over SSH (ssh <host> exit should succeed in a terminal). The app never auto-trusts an unknown SSH host—verify and save the host key once in a terminal first.
Connect to WSL (Windows)
On Windows the app connects to WSL instead of SSH. Connect to WSL… lists your installed distros (and the default distro); pick one to run Studio there:
- The app fetches and pins the distro's CA certificate.
- A workspace chooser opens—always, VS Code–style: pick a recent or discovered workspace, Browse for a workspace… (starts in your distro home, and can navigate anywhere including
/mnt/c/…), or Use home directory. remotive studiostarts in the distro and the app connects to it through WSL's localhost relay.
The RemotiveCLI must be installed in the distro for its default user, and remotive studio must have been run once there to provision certificates.
Security model
RemotiveStudio Desktop is designed to use TLS for its performance benefits without weakening your system's security posture:
- Provisioned by the CLI—the first time you run
remotive studio, it creates the certificates under~/.config/remotive/certs/; the desktop app reads the public CA certificate (ca.pem) from there to establish its trusted HTTP/2 connection. - No system-wide certificate install—the CLI-generated CA is trusted only inside the app process, never added to your operating system's trust store.
- Per-machine certificates—each machine generates its own CA and server certificates; no shared private keys. Private keys are written with restrictive permissions.
- Localhost-scoped—the app only trusts certificates for
localhost/127.0.0.1, and it pins the specific CA fingerprint rather than accepting any certificate. - No host auto-trust for SSH—unknown or changed SSH host keys are surfaced as errors, never silently accepted, which protects against man-in-the-middle attacks.
See also
- Getting Started—running RemotiveStudio from the command line
- RemotiveCLI installation